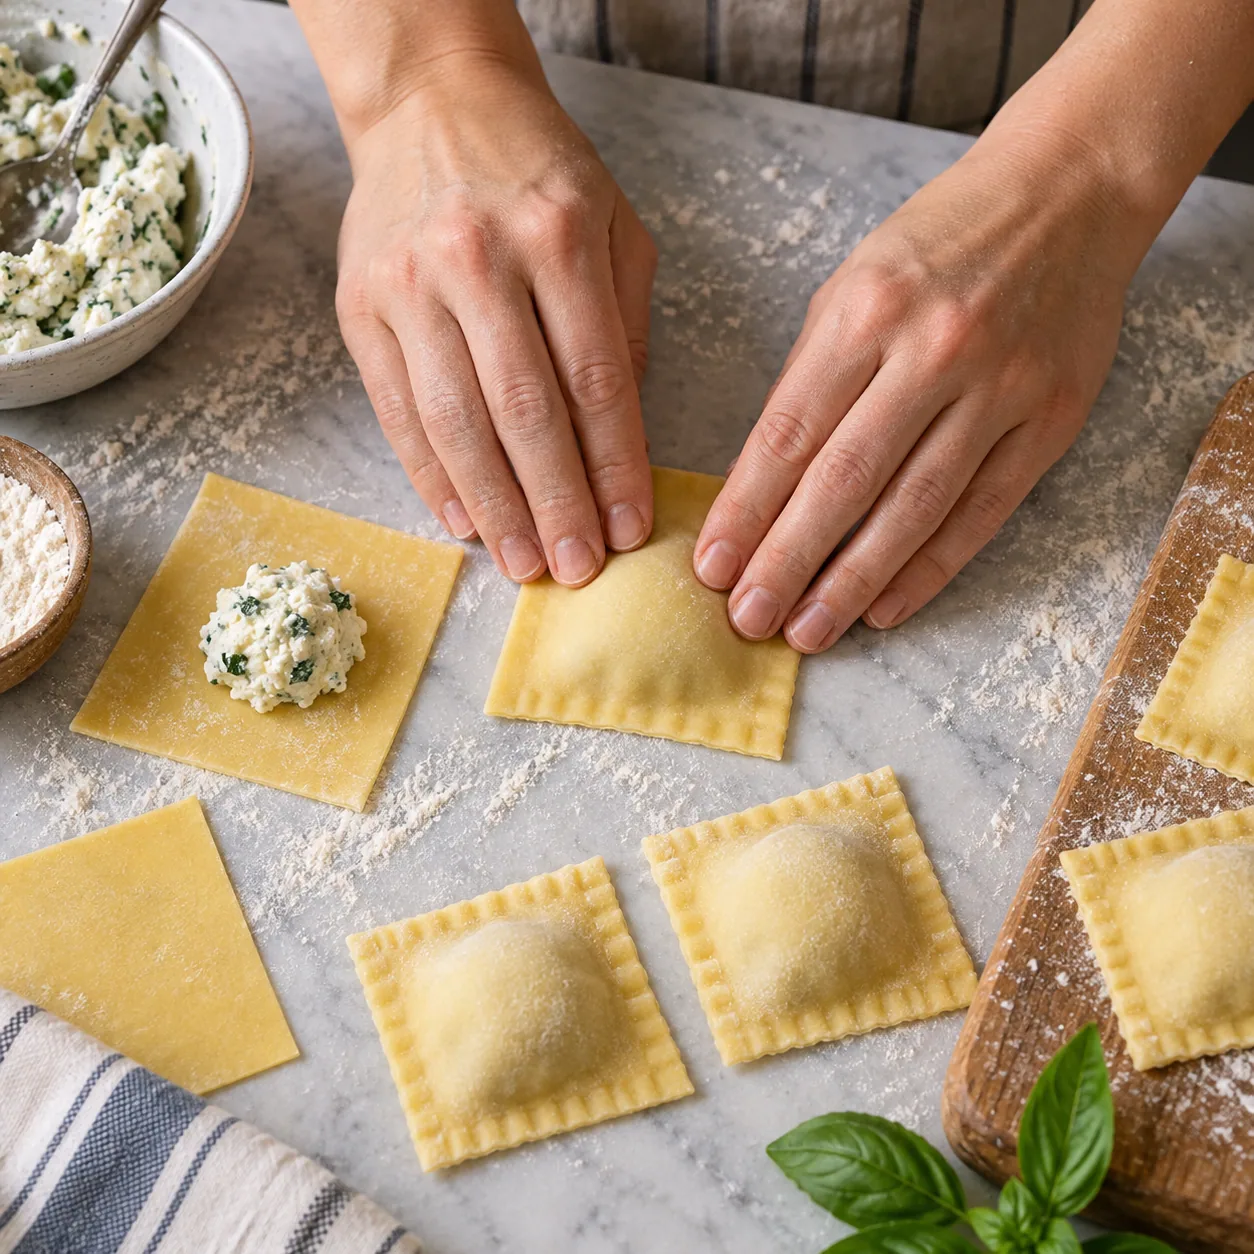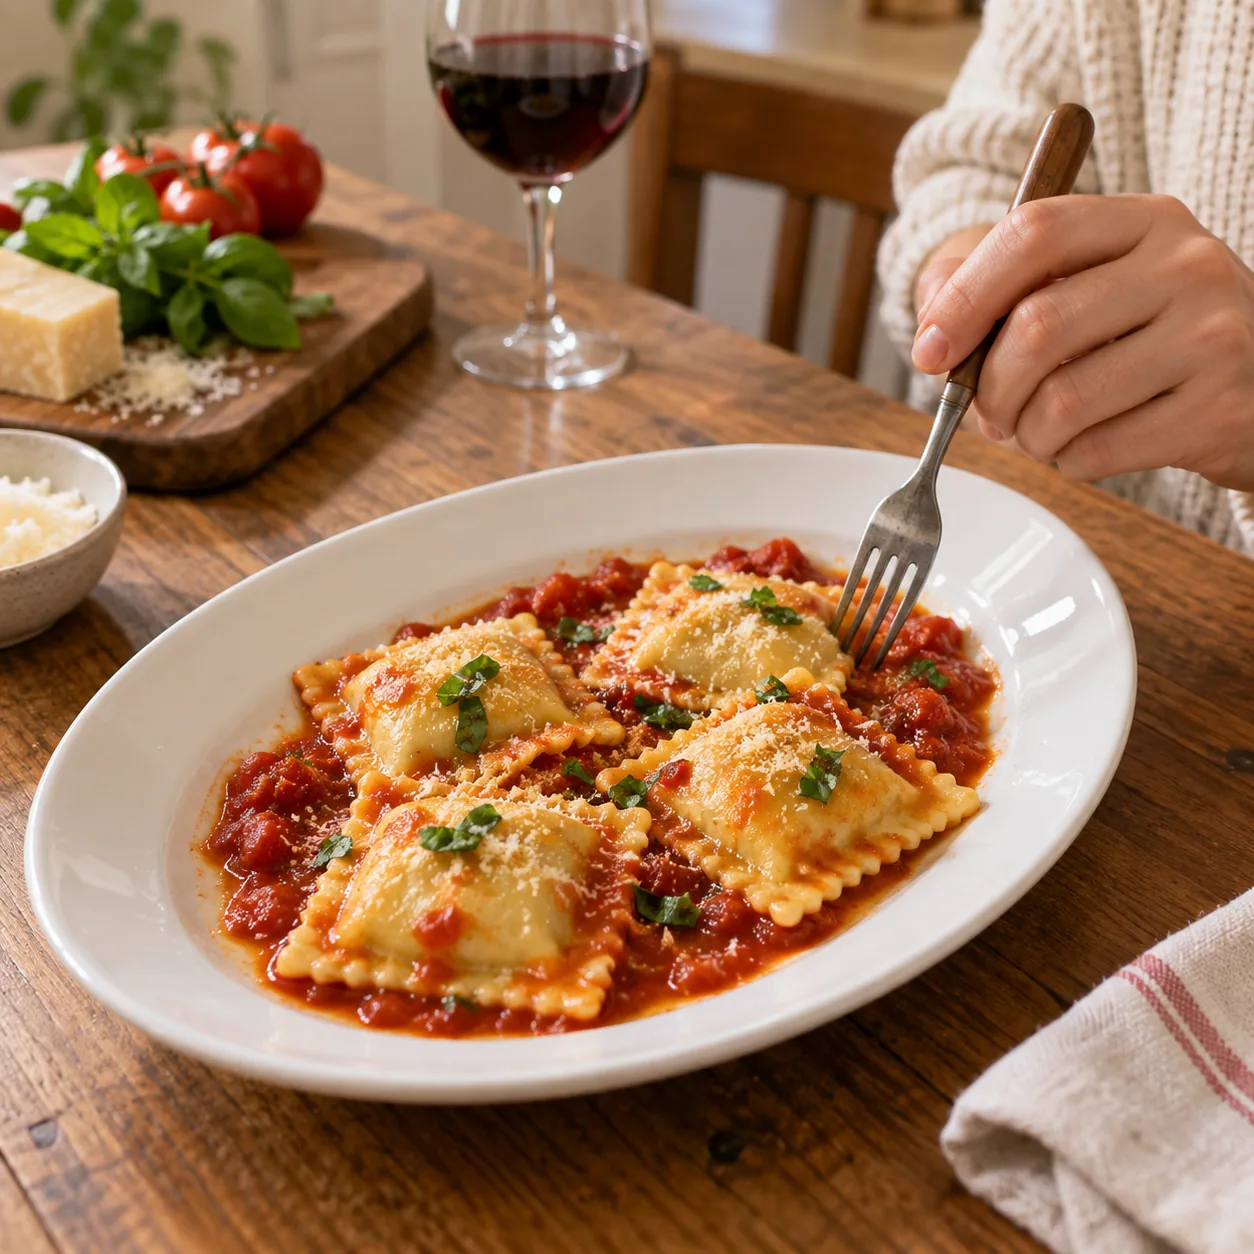
For a first ravioli batch, use one complete ravioli recipe rather than combining an improvised dough, filling, and cooking time. Prepare a filling that holds its mound, work on one small sheet, keep the borders clean, press air away from the filling, and seal before cutting individual squares.
This guide uses King Arthur Baking’s Homemade Cheese Ravioli as its worked example. Its quantities and cooking time apply to that recipe; if you choose another tested recipe, keep that recipe’s dough, filling, spacing, and cooking directions together.
Before rolling: five things should be ready
- The filling is mixed according to the recipe and can sit in a mound rather than run across the sheet.
- The rested dough is divided, with the unused piece wrapped so it does not dry.
- A parchment-lined, lightly floured tray is ready for finished ravioli.
- A small amount of cool water and a brush are ready for the borders.
- A knife, bench knife, pastry wheel, or square cutter is on a stable work surface.
The King Arthur cheese-ravioli recipe uses a ricotta-based filling and gives its own formula. Do not replace it with raw meat, seafood, or another filling while keeping the same cooking directions; a different filling changes the safety and doneness requirements.
Build one short row
Roll the dough according to the selected recipe. If working by hand, King Arthur’s recipe notes that a rolling pin can replace a machine: roll gradually from thick to thin, flour as needed to prevent sticking, and pause briefly if the dough snaps back.
For its cheese ravioli, King Arthur portions 1 tablespoon of filling at 1-inch intervals and leaves at least 1/2 inch of clear pasta at the edge. Treat those as recipe-specific measurements, not universal ravioli dimensions.
Start with a short row instead of covering a very long sheet. The smaller workspace makes three checks visible:
- Every mound stays within its space.
- The border is free of filling.
- The top half of the sheet can fold over without stretching tightly across the mounds.
Move air outward, then seal
Brush the thin water layer described in the recipe along the edge and between the mounds. Fold the sheet over. Starting near the center, press outward between the mounds to move trapped air away, then seal the borders.
Only after the row is sealed should you cut between the mounds. Inspect each square before it goes to the tray. A decorative fluted edge is not a substitute for two clean layers pressed together; if filling is caught in the border, set that piece aside for immediate correction rather than hiding the gap with another cut.
Cover the tray as the recipe instructs while you assemble the remaining dough. Keep the perishable filling within safe handling limits. USDA guidance says perishable food should be refrigerated within two hours, or within one hour when the temperature is above 90°F/32°C. If that limit is exceeded, discard the filling and filled pasta rather than relying on appearance or smell.
Cook by the filling recipe
The King Arthur cheese-ravioli recipe cooks a portion without overlapping and gives a 6-to-8-minute boiling time for its own 2 1/4-inch squares and filling. That timing should not be transferred to ravioli with a different size or filling.
Watch the first portion for leaking seams and handle it according to the recipe. Floating alone is not a complete doneness test for an unknown filling. If you use meat, poultry, seafood, or egg-centered filling, use a recipe with ingredient-specific safe-temperature instructions rather than adapting this cheese example.
Pasta By Hand has not kitchen-tested this assembly guide. Its AI illustrations show the intended sequence but do not prove a seal or cooking result.